|
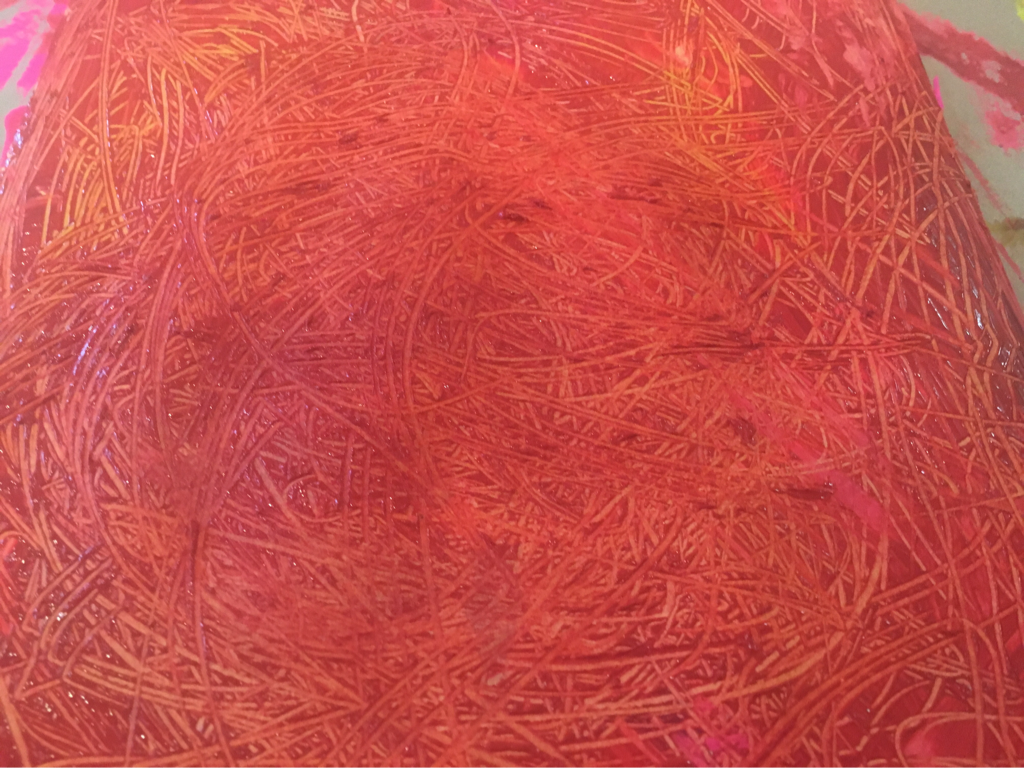
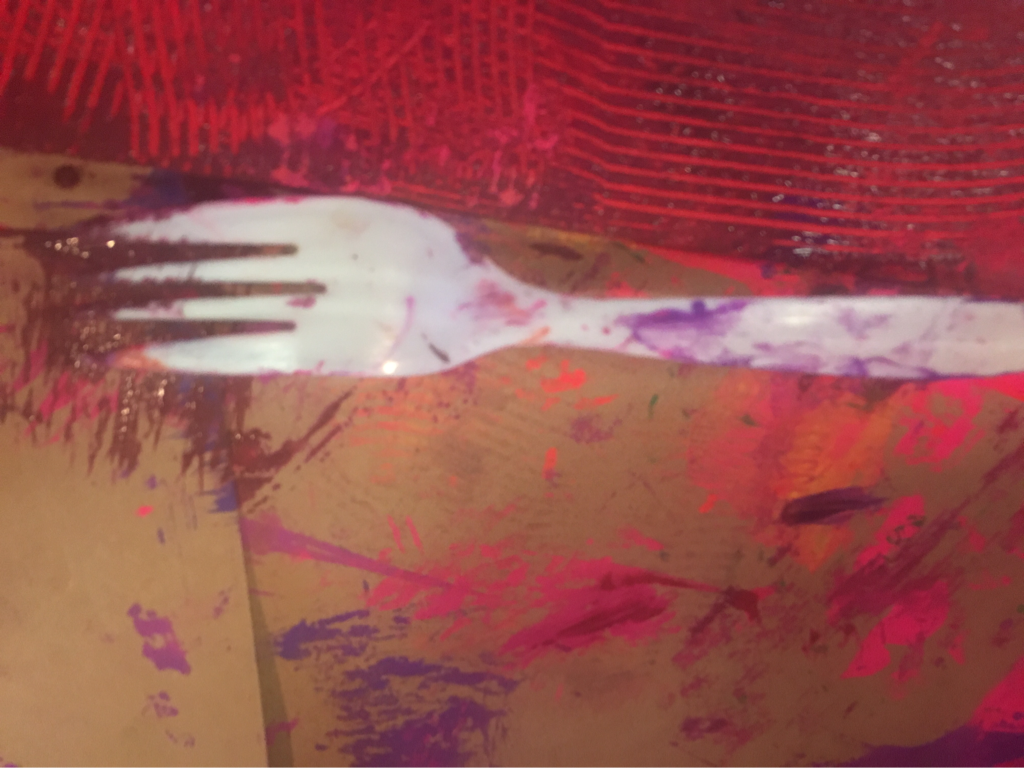
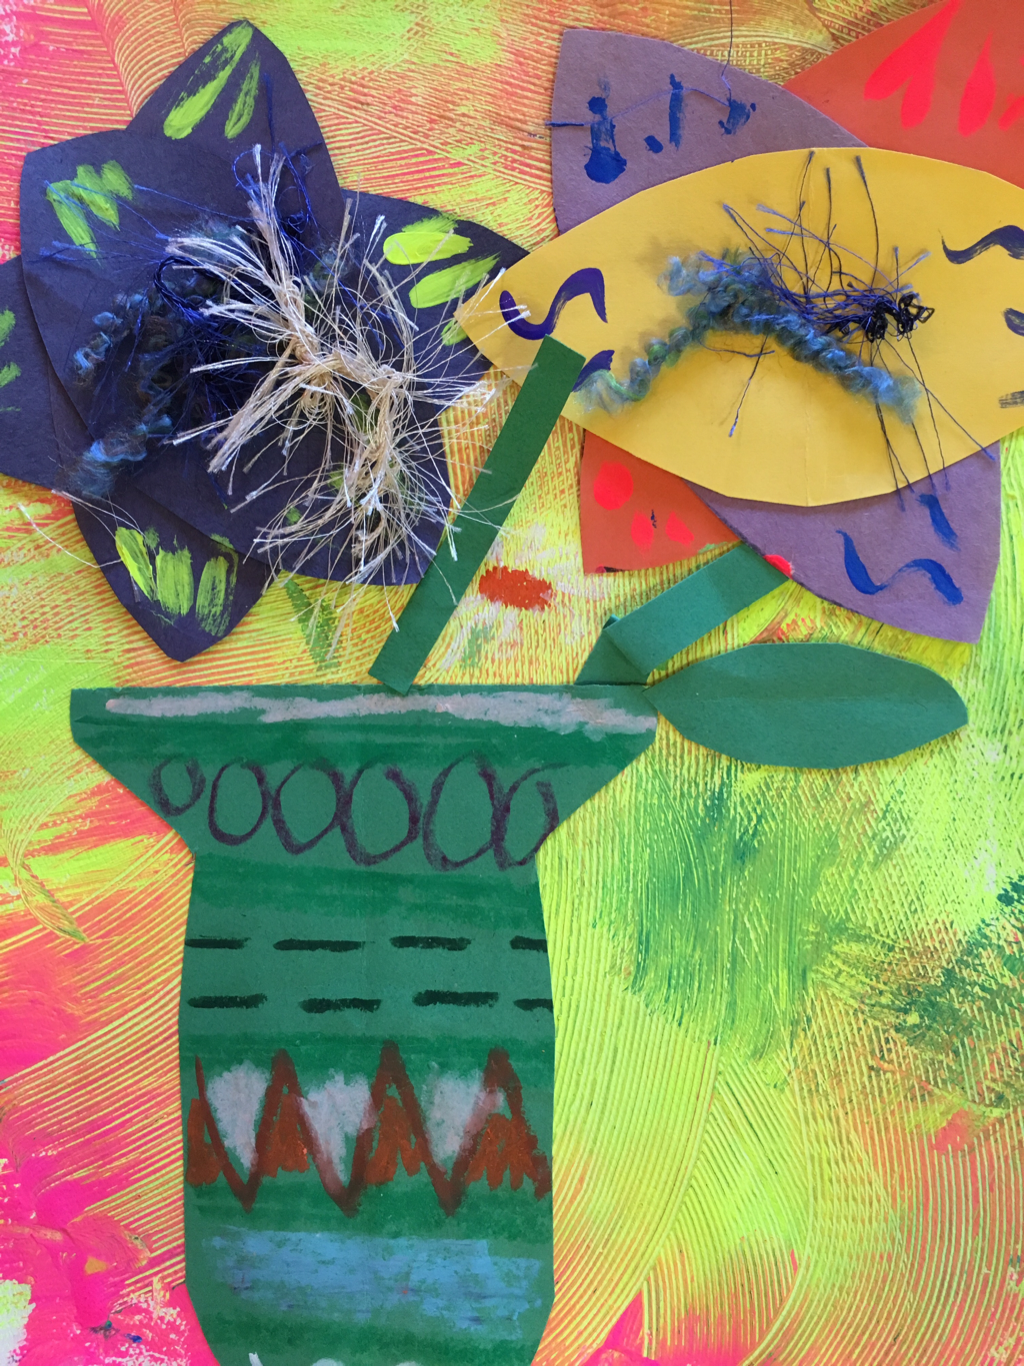
Today I had a student etching lines into his background for our Van Gogh project (continuing from last week)- he said, they are "roller coaster lines" with much enthusiasm. Any way I can get them to stand and move their bodies around while they are working... the better! Art is typically a seated process, but I see better focus and attention when they are standing and really moving their arms around. They are engaged! They are excited! This is good stuff. We created these heavily painted, tactile backgrounds in a small group of about 6-8 students. I set out two tray of vividly bright paint colors, and wide flat brushes. The students slathered the paint, stamped, flicked (a little) and had a good ole messy time. At points, I tried to go around and directly squeeze some paint on their paper... More paint, please!!! After the paint shellac, it was texturizing time, with tools like combs, forks, whatever! I probably could have brought out millions of tools but I limited to three, and told them to try two. Since they all did not all paint at the same time, the students that were waiting to paint cut out a symmetrical vase form that will hold their flowers from last week. Some of them did cool cuts like the one below and others chose simpler forms and decorated on top with patterns & designs. So it is generally more busy and stressful for me when I've got two things going on, but in the end, it's nice to have some small group time happening during the art period rather than chunking everything out overall.
I think the students liked the movement and kinetic nature of the scratch painting and I hope to do more of this soon. Next week I will wrap up this Van Gogh three weeker- it's been great fun and I think the students will be surprised at the results!
2 Comments
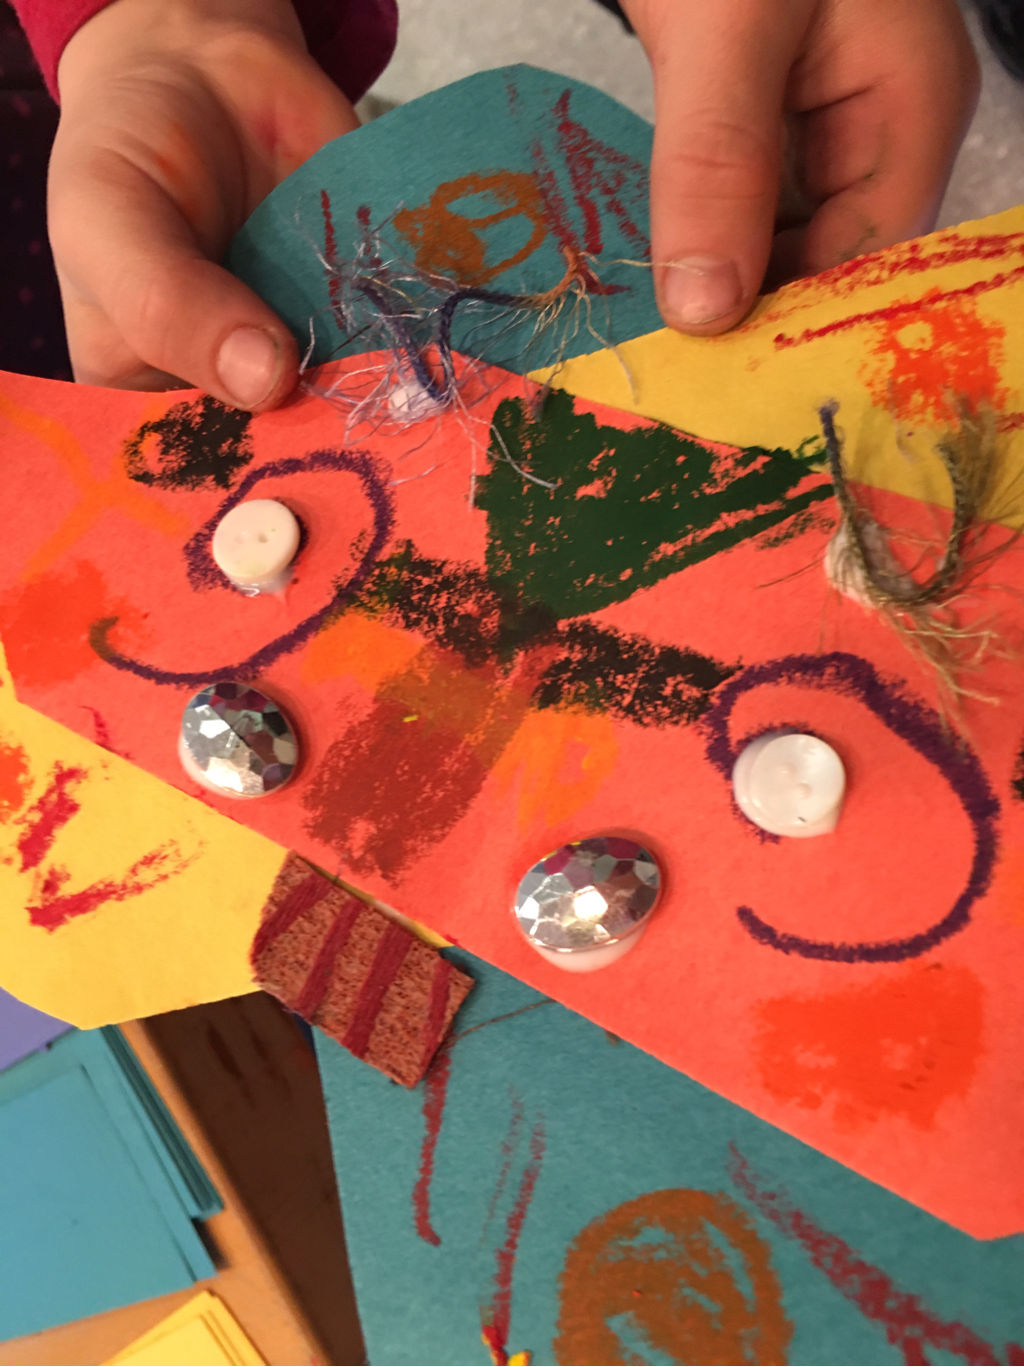
Oh how I love the three week art project! I think it forces my Kindergarten students to slow down and really appreciate the long art project. Van Gogh inspired art projects are always good staples, and this one is inspired by "The Sunflowers." Since spring is coming (I think) I thought it was time for some flower power in the art room! The first week is all about these fabulous, colorful, embellished flowers. You need a lot of strips of paper for this project- so prepare to hang out at the paper cutter for a while... Make a mix of different colors and have extras ready for early finishers. Usually, the students use about three strips of paper and fold and cut out the petals on a curved arc. Does it have to be an arc? Does it have to look symmetrical and perfect? Well... Whatever the results, have them decide how it should evolve and be put together. Give them the basics and let them run with it, mistakes and all. Lately I feel like I have been walking a fine line with what I want my project outcomes to look like while trying to save some wiggle room for creativity. When a student messes up, or has to problem solve on their own, or breaks out of the boundaries of the project... Hey, we call that being creative and I would be a fool to stop it. Sometimes the best art projects are made by rule breakers. Therefore, don't be too militant with how the flowers look or you will wind up with a whole class of the same flowers... Meh! Encourage that they have some symmetry going, overlapping and solid design... And then let them go wild with embellishments. Students loved having the freedom to make some unique flowers... collaging on some novel embellishments like buttons/fabric scraps and draw using Crayola slick sticks (these things are wonderful but they don't last long). I will be posting more on the following weeks of this project as it progresses.
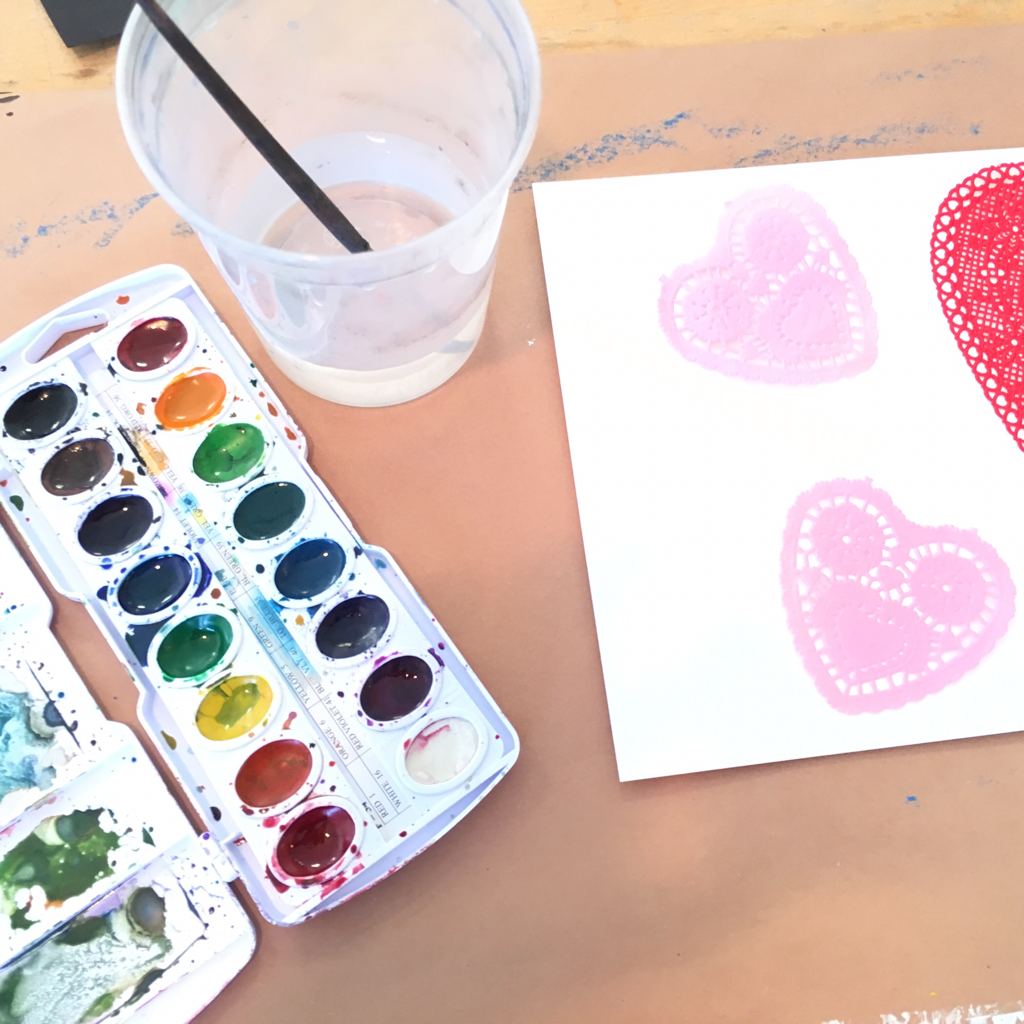
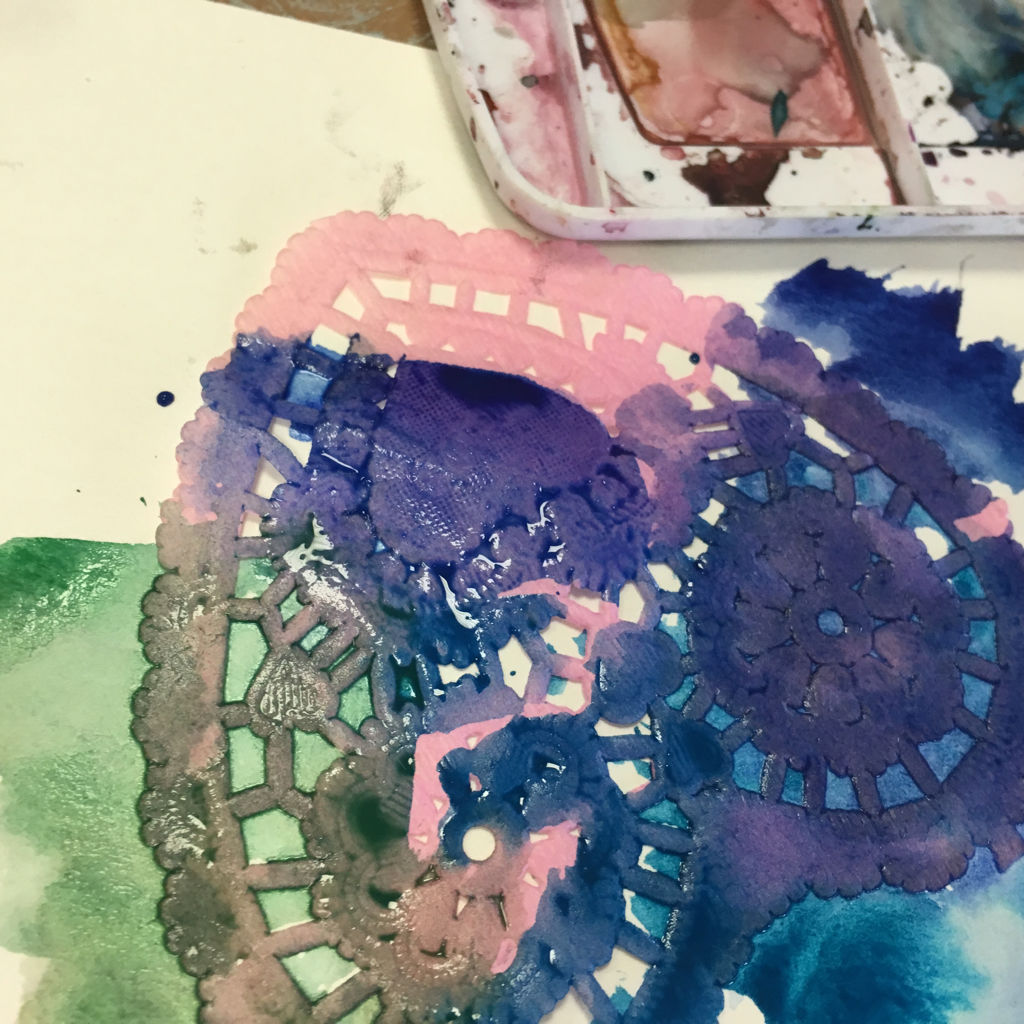
One thing is for sure... Winter it's been cool having you around, but take a hike. Valentine's Day is almost upon us and the school is buzzing with V-Day projects galore. Maybe it an art teacher thing, but I love Valentine's Day and all low key holidays like Halloween, St. Patrick's Day, etc. So much cuteness... boundless possibilities for art projects! I came across this art activity from Patty Palmer, art teacher and blogger extraordinaire, at http://www.deepspacesparkle.com and decided to give it a whirl with my first graders today! First, you gather up some fantastic, old school doilies. Then, you basically use the doilies as a stencil and paint (using watercolor or puck tempera) through the doilies- quite special. As you go on and on, continuing to add more hearts in varying sizes and repeat the design, I tried to encourage overlapping and cropping to create an open composition. Patience is needed in this project! The first graders like to work fast and I encouraged them to "see the holes" and "look closely" as they were working. I found that students that used more watery and darker paint had better results. Would I do this again next year? Oh, yes please.
It's a great make and take project for that week before the holiday weekend when the students have visions of heart-shaped lollipops in their heads! Much love😍 Ok, pottery tools people! This is an area that I have been slacking on as of late, and I am starting to get my act together. Not only are most of my pottery tools old, cobbled together, but in a general, big sloppy mess inside of a bin that I believe used to hold bath supplies.
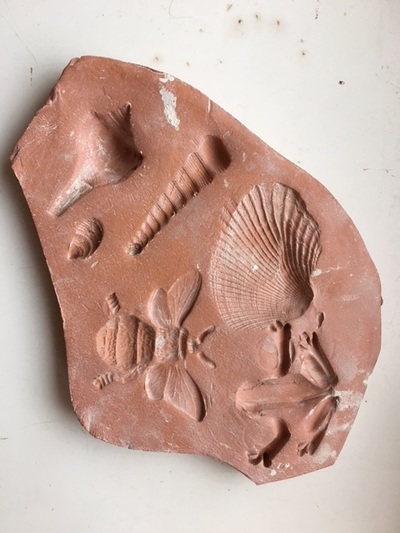
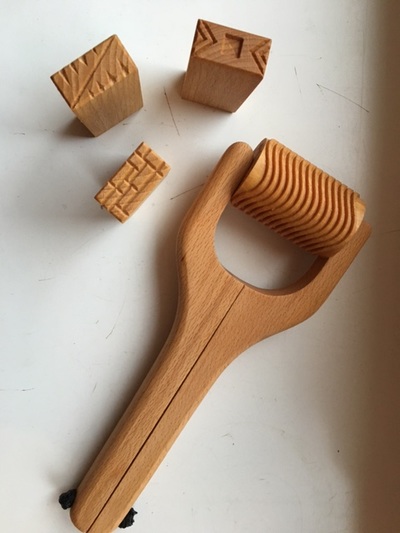
When I look around the studio that I frequent, most of the cool pottery kids have nice pottery tool bags. They look like giant electrician or tool bags. You can get one of these at Lowes or Home Depot. I didn't realize how important this was until I finally got one myself... a game changer! Now I can finally locate my stuff! Besides these bags, I am starting to have a greater appreciation of high quality, well made, pottery tools. Sure you can always use average tools. I have used a handful of these tools over the years and I have gotten by. You can make your own texture molds that you see above and get some good results, but one of my studio friends pointed me to some MKM tools that are fantastic. When I pulled these tools out of the box, I immediately smelled a nice woody, linseed oil smell... yumm! These people are not messing around and take great care in crafting their tools. So, these tools are kind of expensive. I might have to start a second job to support by MKM habit, but I am happy to say, that I do need to branch out and collect some more of these wooden masterpieces. The roller and texture blocks on the right would be great for slab construction pieces or would provide subtle textural details to wheel thrown functional pieces. Either way, it's worth a try. I know that in my art classroom the K/1 kids LOVE texturizing clay. I think they would be all about these texture rollers. I have to see if I can work some art budget magic and purchase some of these for next year! |
alison kleinarchives
October 2023
categories |







 RSS Feed